SB116 Programmers Calculator
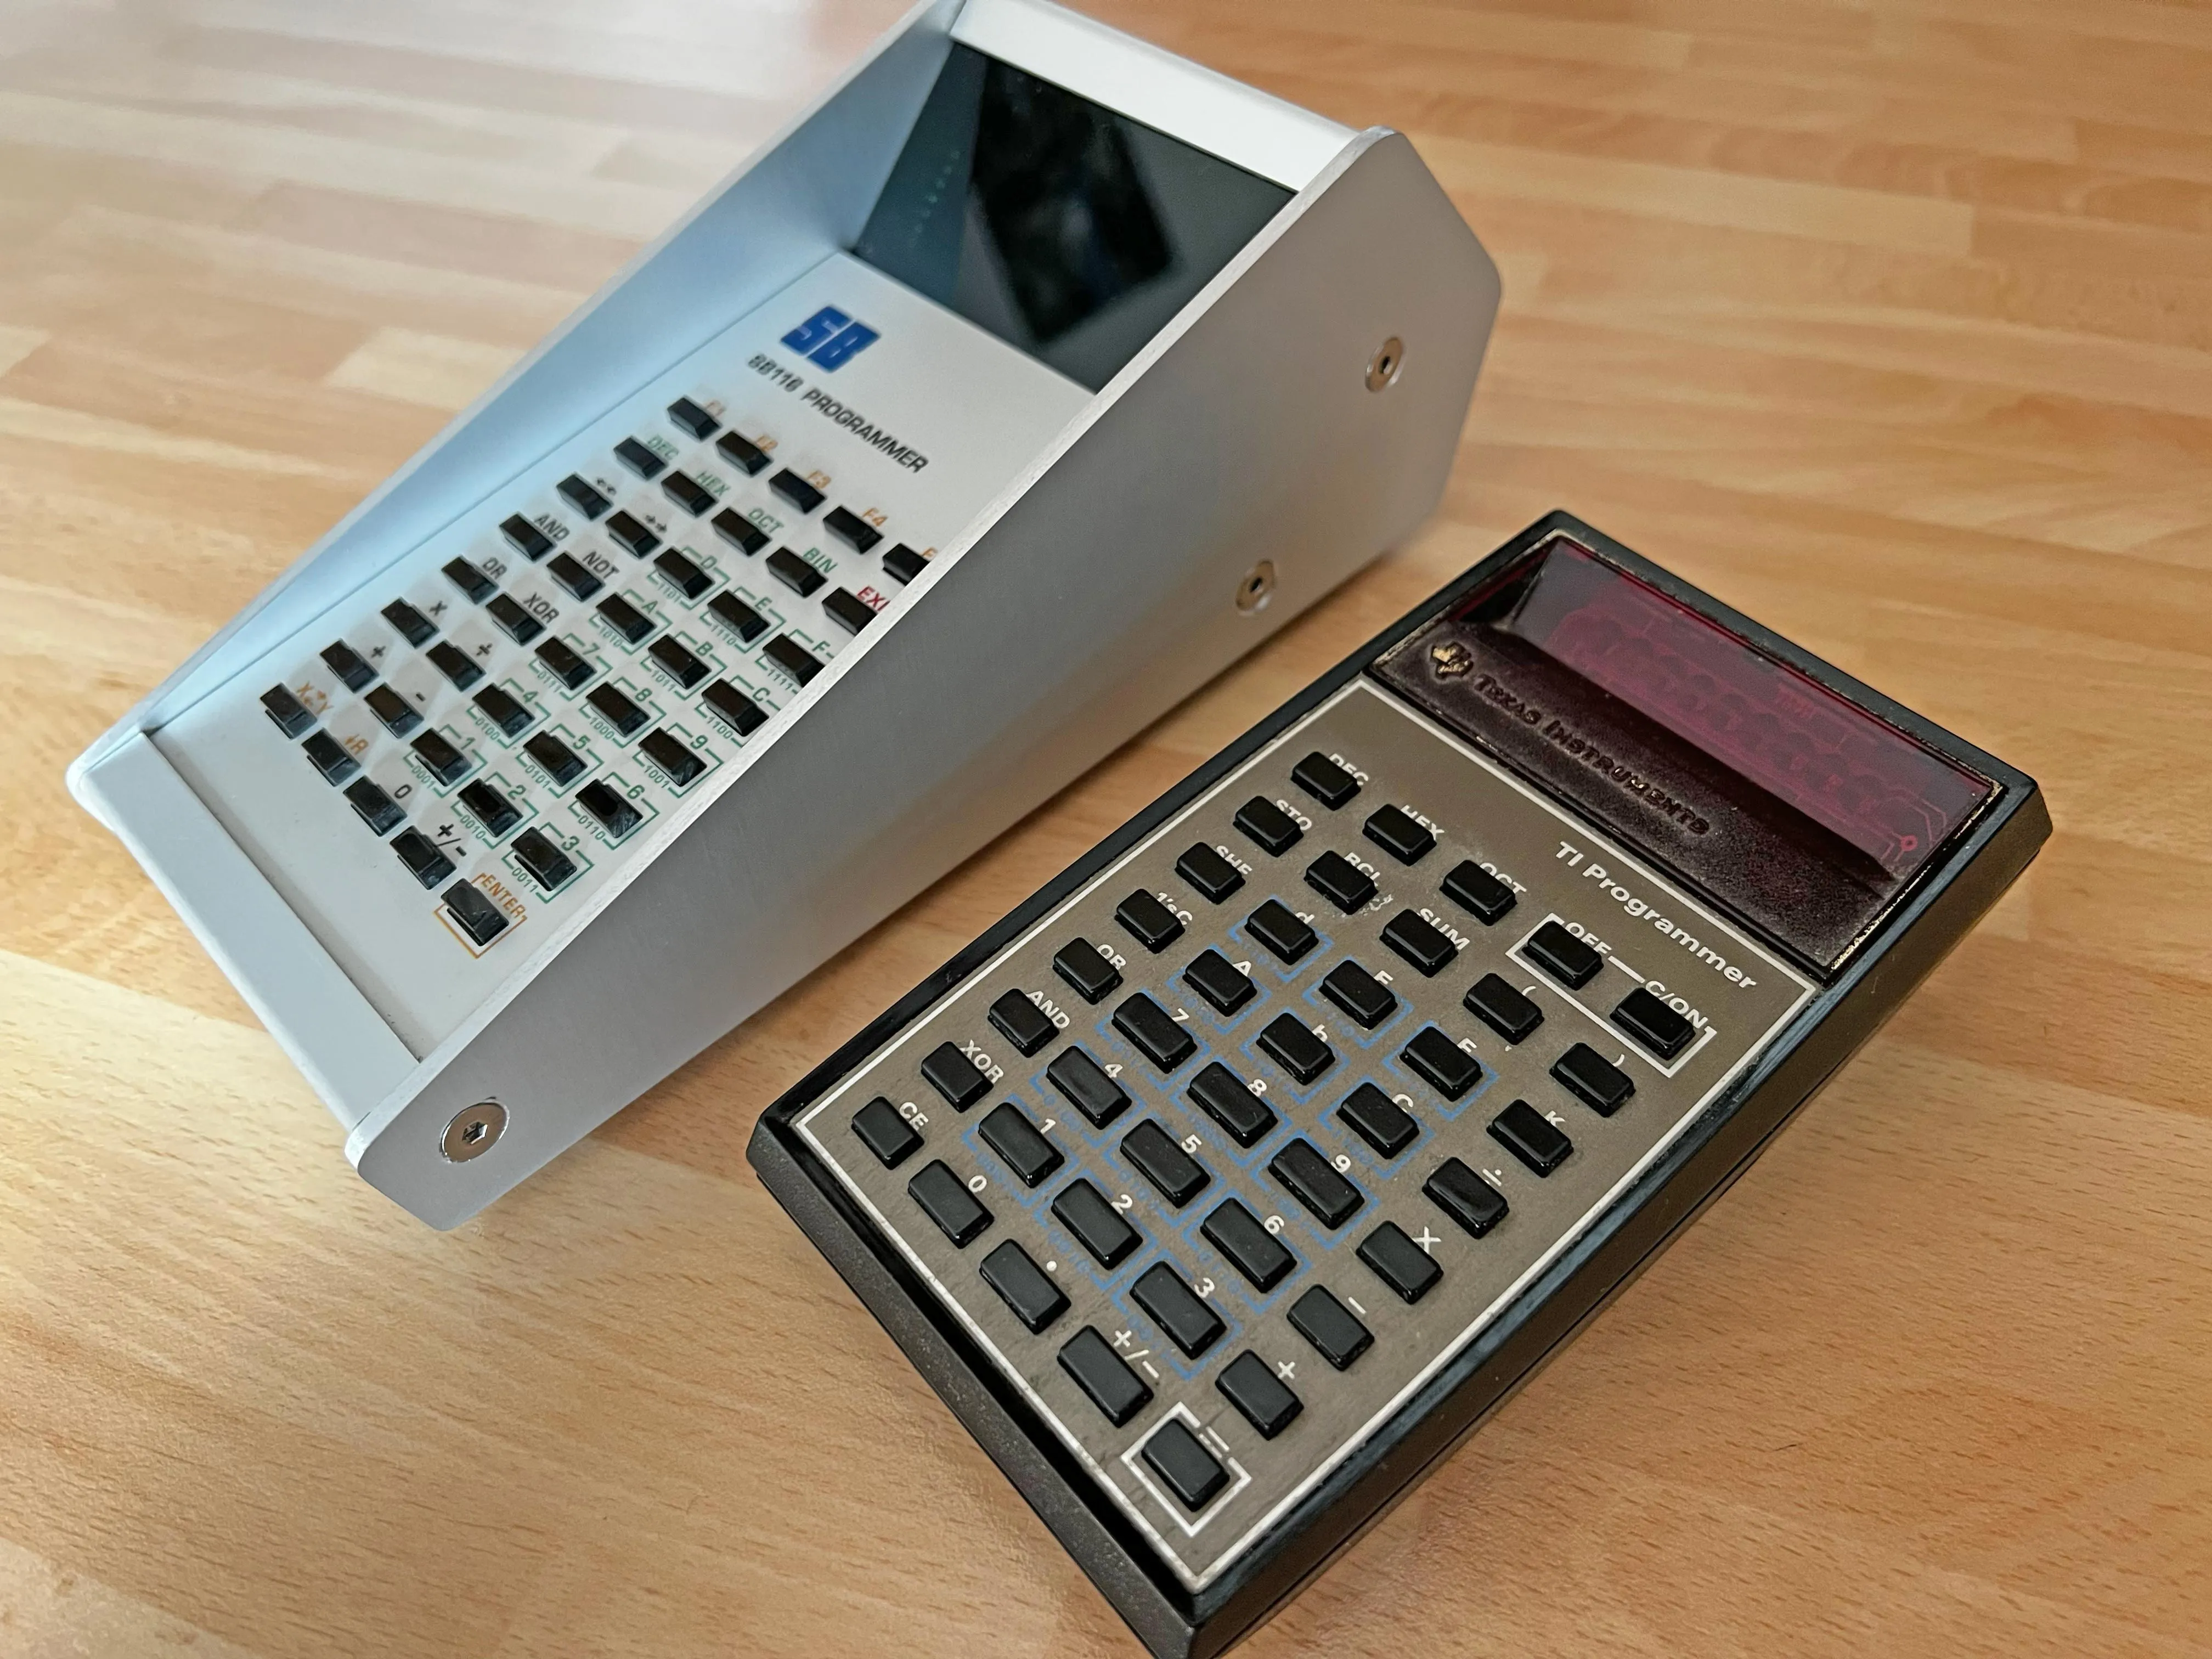
My Texas Instruments TI Programmer calculator is an excellent tool when working in 6502 assembly and other retro experiments. However going on 45 years old now the buttons are increasingly unreliable and with no good fix for the problem I took this as an opportunity to design the SB116 as a replacement that better fit my own needs.
Based around an Arduino Nano, this kept the build simple and I think the constraints of this were helpful to avoid the temptation of throwing too many features at. Compiled code size takes up 90% of the available Flash memory (it’s not the best optimised code I’ve ever written…). The Nano scans the 40 button keypad for input and all output goes to the green 128 x 64 pixel OLED. All graphics are handled by the U8g2 library.
The SB116 uses a Reverse Polish Notation (RPN) style of operation with 3 registers X, Y, and Z. The top of the display shows the current number base (binary, octal, decimal or hexadecimal) and also the state of the internal status register following an operation (whether the result has carried, is zero, has overflowed, or is negative). It supports the usual calculator functions of adding, subtracting, multiplying and dividing, but also has more practical logical operations for AND, NOT, OR, XOR, and shift left or right.
The “16” in “SB116” name represents the 16-bit Integer data type used for the registers. This means it can only work with values in the range -32,768 to 32,767 and with no decimal point. I built this for 8-bit programming projects so there is no need for bigger numbers or decimals.
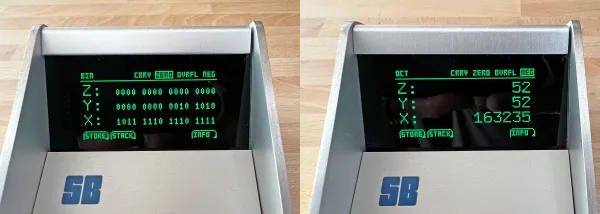
It can be switched between decimal, octal, hexadecimal and binary at any point, making it very quick to use for converting between bases. The Nano’s EEPROM is used to remember the last selection when powered off.
I also added 2 storage options: the first is 16 values of random access “heap” storage, allowing the current value of the X register to be stored in any of the locations and then read back into the X register when desired. The second is 16 values of stack storage, where the current value of the X register goes on to the top of the stack above previous values. These are then returned in the reverse order.
Hardware
Just a single custom PCB was made for the keypad and the Nano is then soldered directly to this. Wires then join this PCB to the display. The switch on the back then sets the power source to either the USB connector on the back (power only: no data lines connected to this) or 3 AAA cells (NiMH or Alkaline). The whole thing barely draws more than 60 mA in operation so has good battery life without needing to worry about lithium cells and charging circuits.
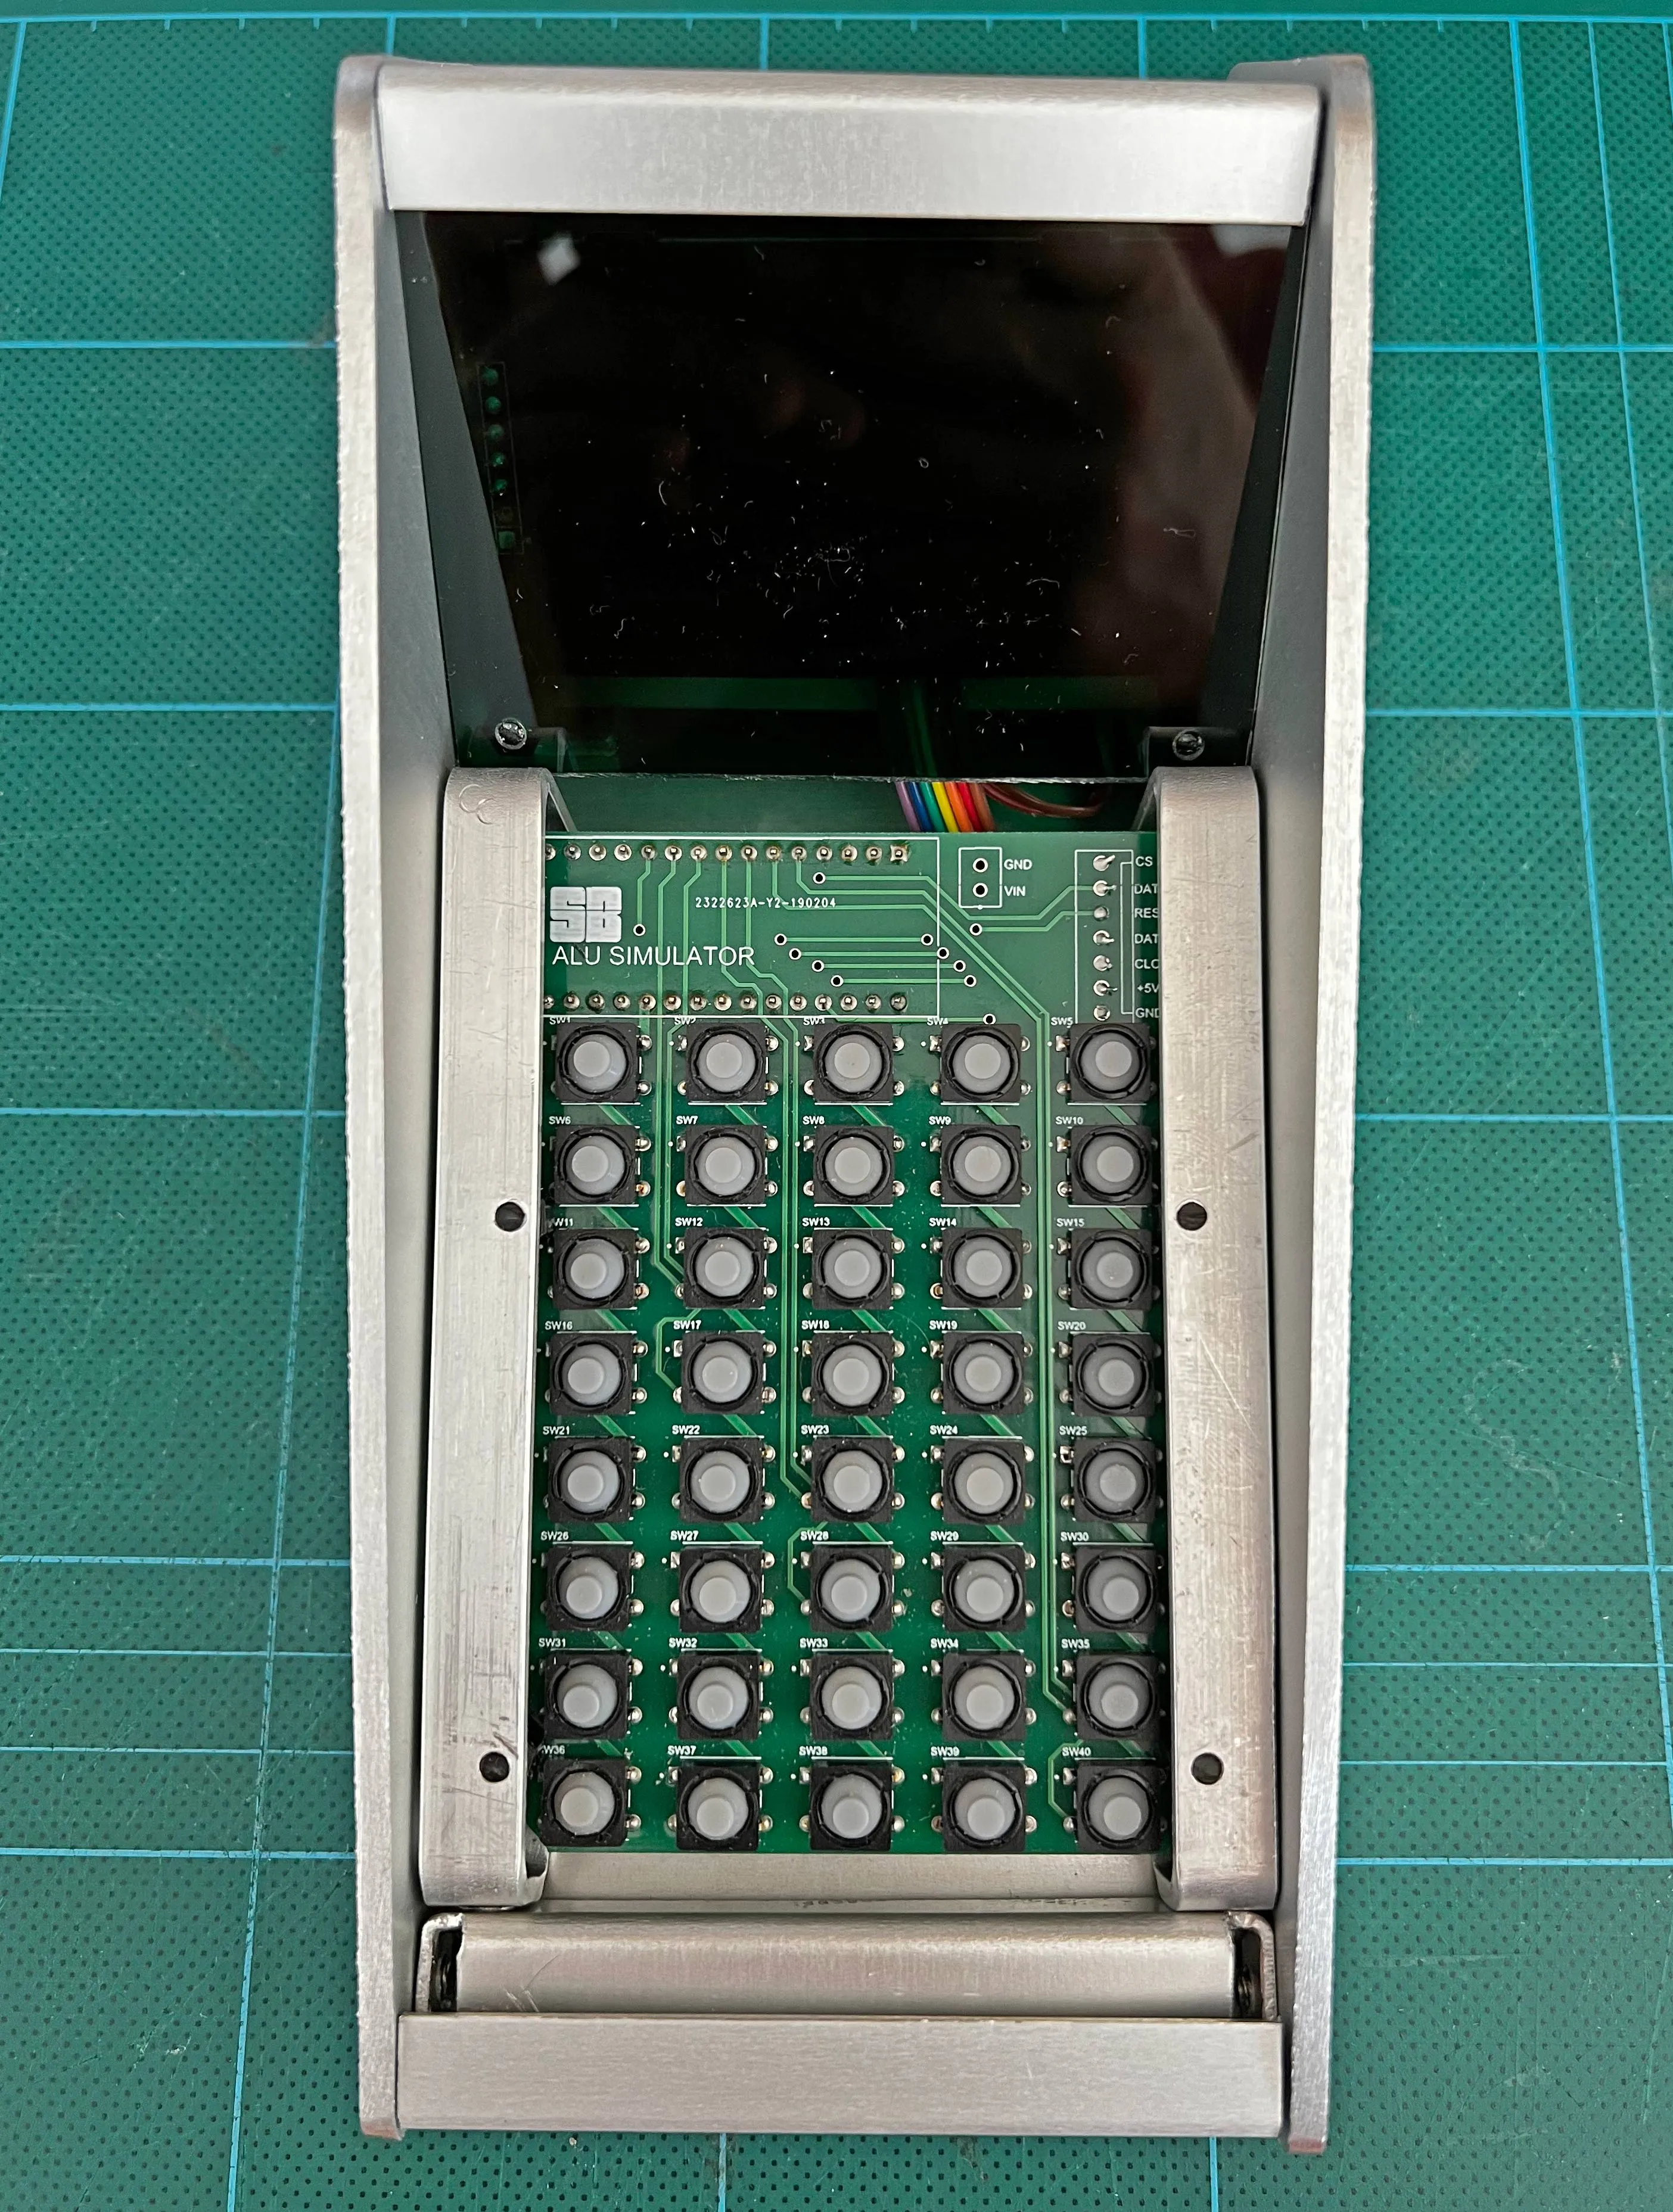
I used soft rubber dome buttons rather than the typical clicky tactile switches. The buttons you see on the front are made from 2 pieces of laser cut black acrylic then plastic-welded into an upside down “T” shape. The flat side pushes down on the button, and the base of the “T” comes up through the top of the panel to replicate the button style of the TI Programmer.
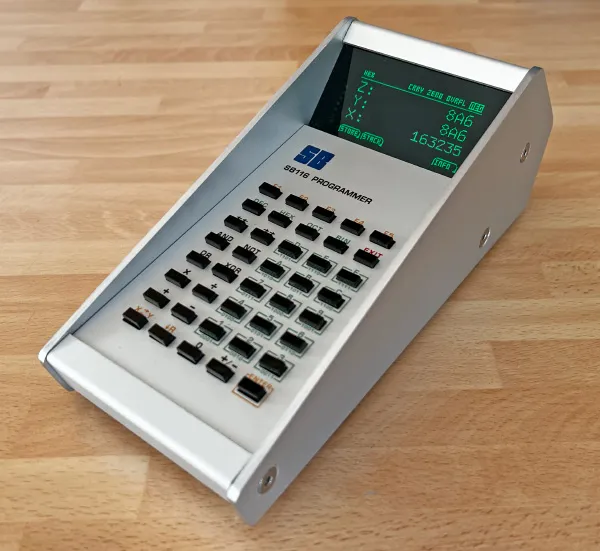
Originally I planned to replicate the full appearance of the TI Programmer by designing a 3D printed shell, but instead went with my own hand made aluminium enclosure. The panel for the keypad was ordered from Schaeffer AG. I’m very pleased with the quality of the printing and perfect accuracy of the 40 rectangular holes needed for the keypad.
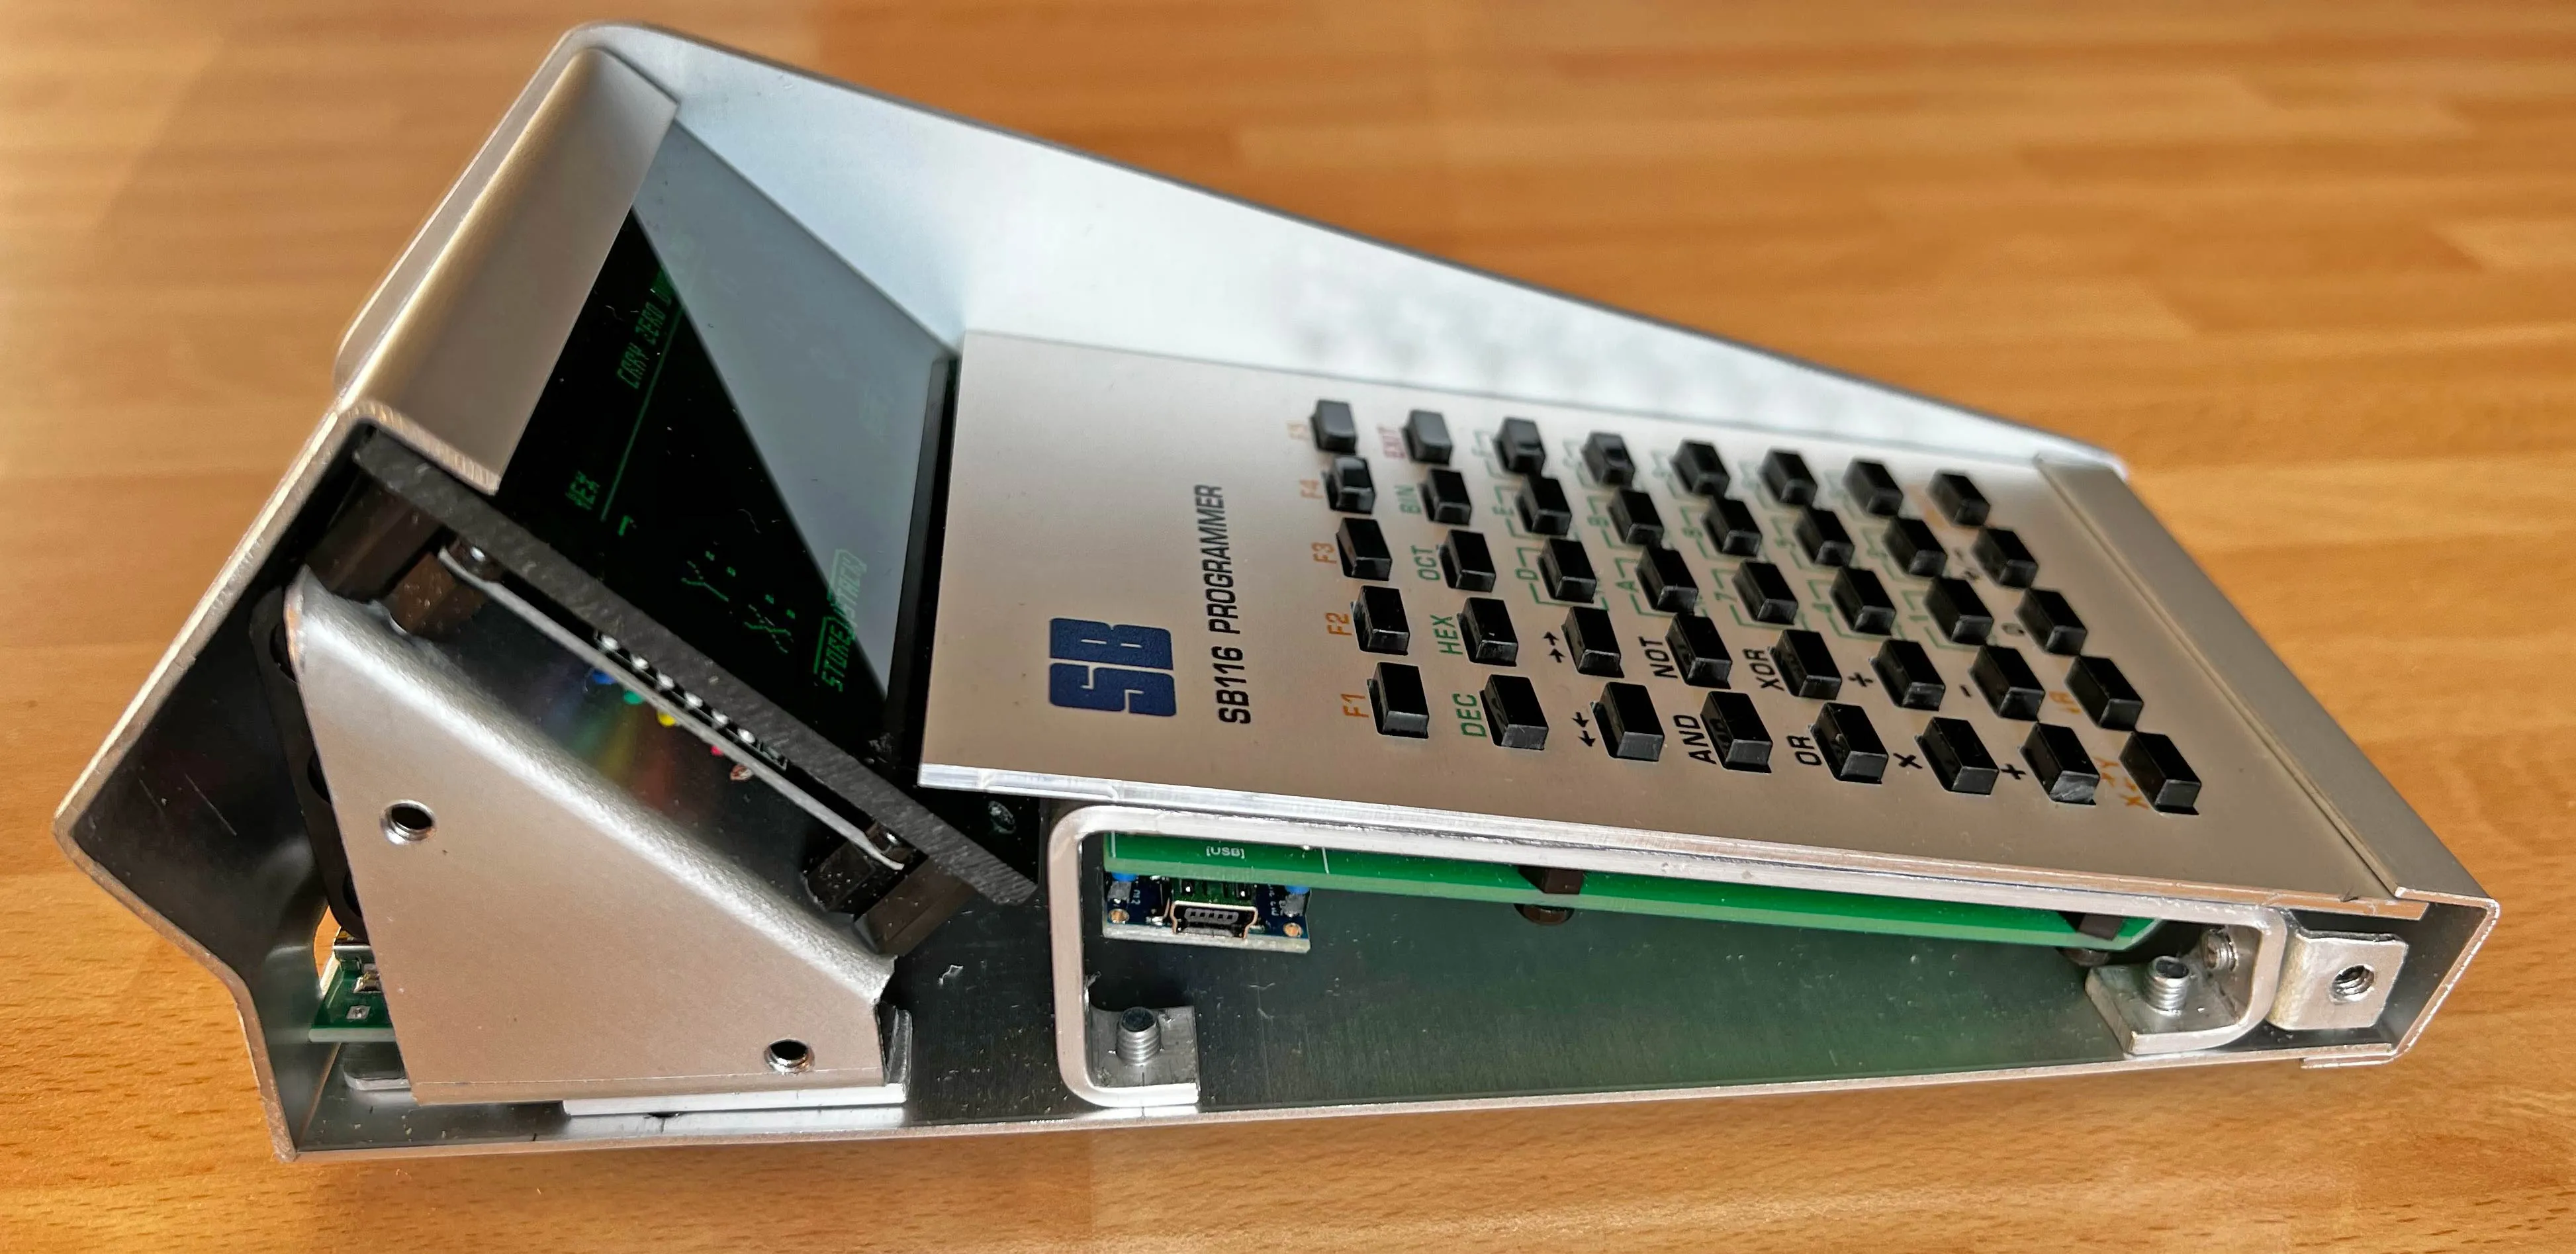
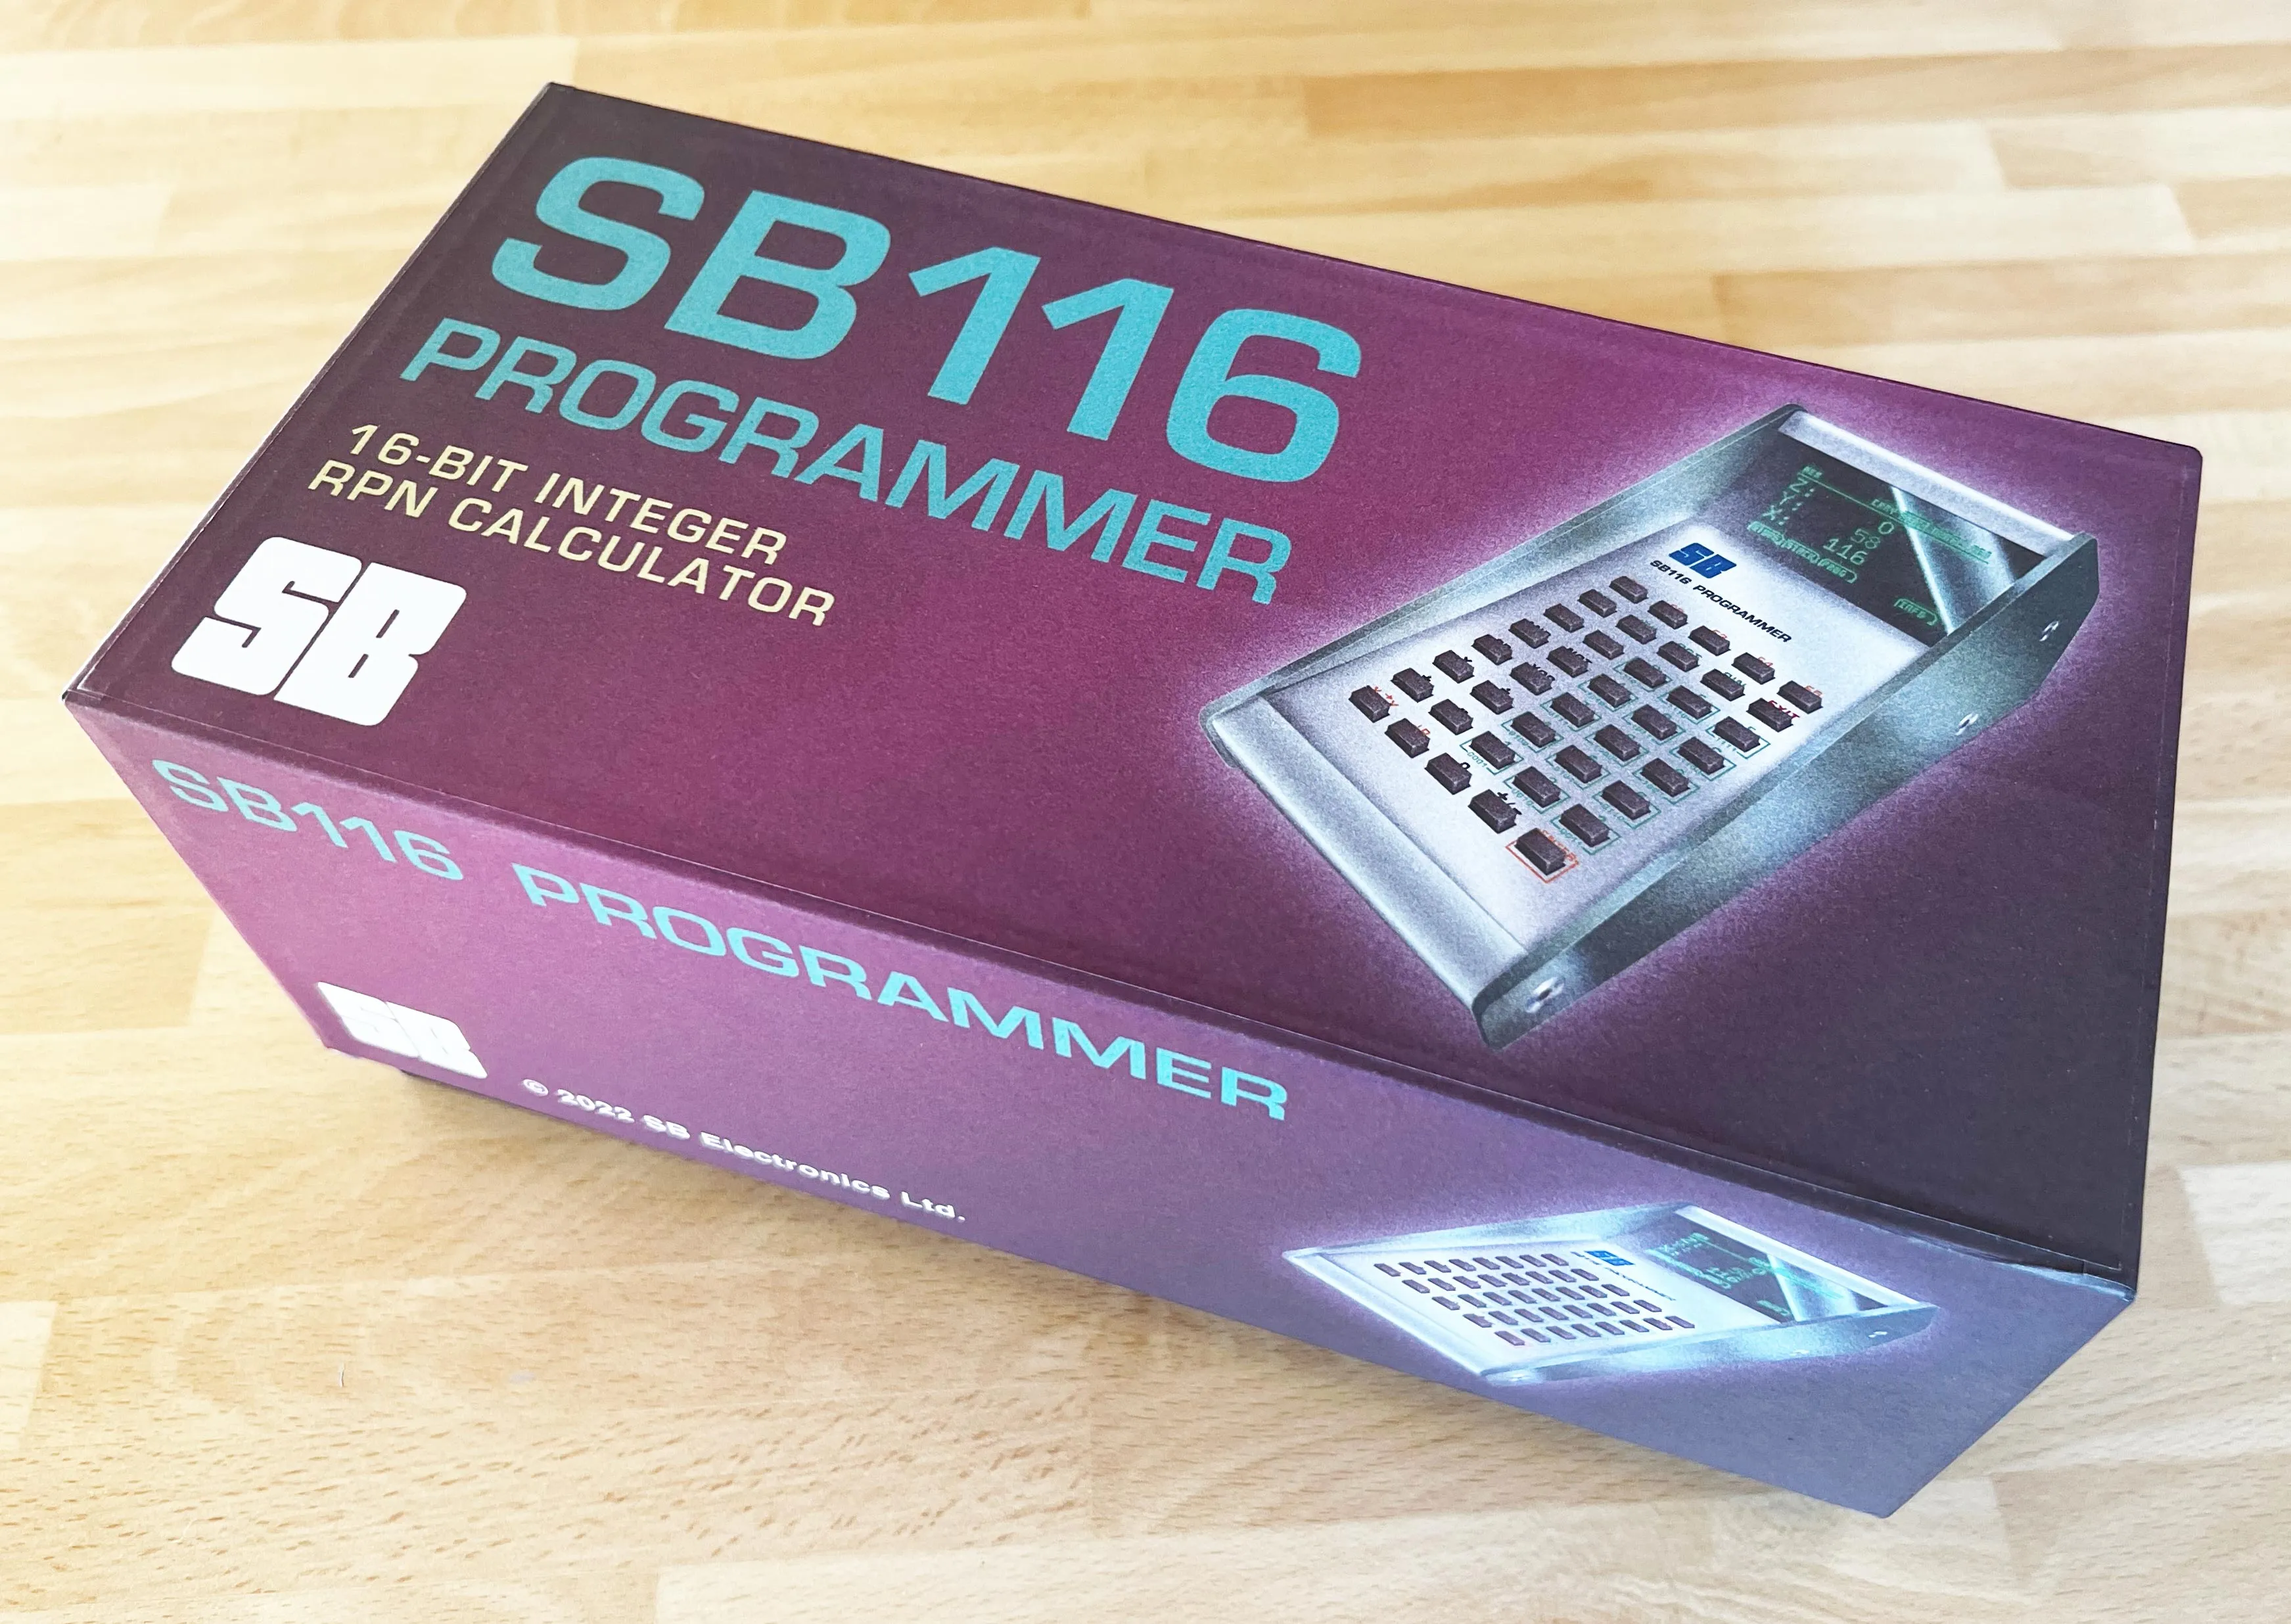
A single thumbscrew taken from an old PC case allows for the rear panel to be removed giving access to the battery. Transparent green acrylic over the display, combined with the angled sides, gives it quite a sleek appearance. For safe storage I even went as far as to make a foam-lined box printed with some retro inspired graphics, almost as if this was a genuine product form the 8-bit era.
My messy sourcecode available is on Github.